

Exact measurements are not required to start
How to Measure Countertops for a Quote
Use a rough top-down sketch, measure each section in inches and calculate the approximate square footage. This guide gives you the numbers Sondos Stone needs for a useful starting estimate—before our professional field measure confirms the final fit.
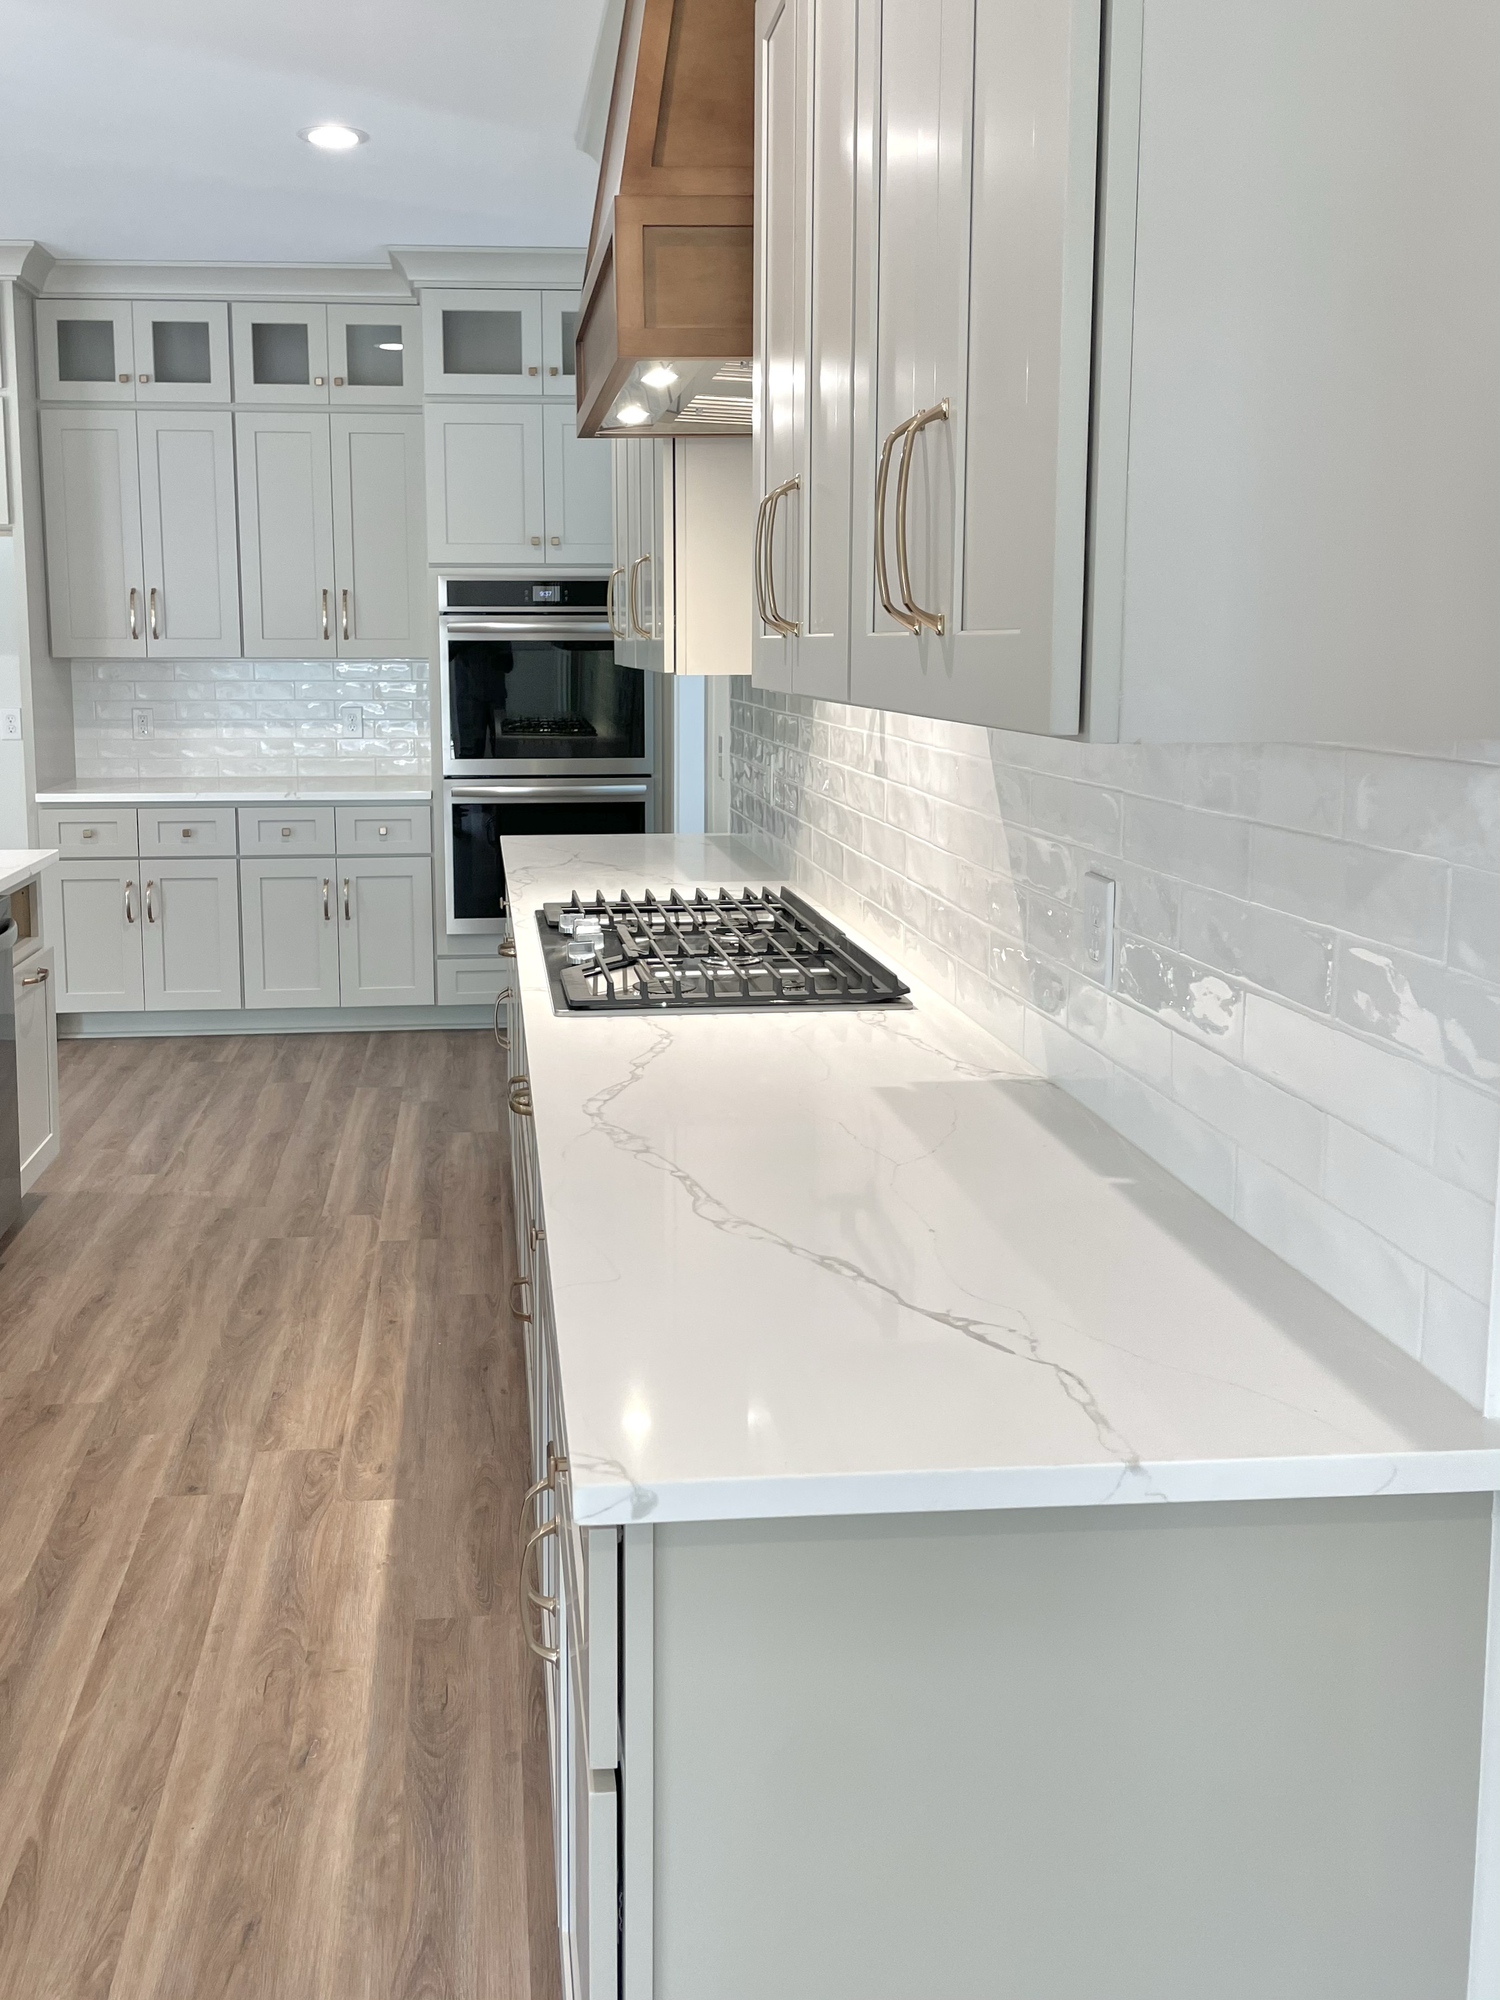
To measure countertops for a quote, sketch the layout from above and divide it into non-overlapping rectangles. Measure the length and depth of each rectangle in inches, multiply length by depth, add every section, then divide the total by 144 to get approximate square feet. Measure islands separately. Do not subtract sink or cooktop openings from the rough area; list those cutouts, backsplashes, exposed edges and demolition separately. Your numbers start the estimate—professional field measurements or a template confirm the final dimensions before fabrication.
TOTAL SQ. FT. = Σ (LENGTH IN. × DEPTH IN.) ÷ 144Interactive worksheet
Calculate your rough countertop square footage.
Enter inches—not feet—for each separate countertop rectangle. Leave unused rows blank. The calculator runs only in your browser and does not submit or save your information.
Countertop measurement sheet
All dimensions in inchesRound the total up to one decimal place for the estimator. Sondos Stone will review the layout, material, edges, cutouts, seams and site conditions before confirming final pricing.
Five-step field method
Measure the surface—not just the room.
The goal is a clear estimate sketch, not a fabrication drawing. Work from a top-down view, label every separate run and write every dimension beside the section it belongs to. Photos and cabinet plans help the fabricator understand what the numbers describe.
Sketch the layout from above.
Draw the perimeter counters, island, peninsula, bar or vanity as simple shapes. Mark walls, finished ends and where the sink, cooktop or range sits. The drawing only needs to be readable—not artistic.
Break the layout into rectangles.
Label the pieces A, B, C and so on. For L- and U-shaped layouts, divide the surface so each part is counted once. Do not let two rectangles overlap or the shared area will be counted twice.
Measure length and actual depth.
Measure in inches. Length runs end to end; depth runs from the wall or backsplash to the front edge. A common residential depth is around 25.5 inches, but older, custom and island cabinets vary—measure the real surface instead of assuming.
Calculate each section.
Multiply length by depth for square inches. Divide by 144 for square feet. Add every section, including the island. Keep at least one decimal place so the starting estimate is not distorted by early rounding.
Record the quote details separately.
- Number and type of sink cutouts
- Cooktop or other appliance cutouts
- Exposed finished-edge length
- 4-inch or full-height backsplash
- Waterfall panels, raised bars or special shapes
- Existing-countertop removal and disposal
L-shapes, U-shapes and islands
Count every area once.
- Use separate rectangles that meet but do not overlap.
- Measure an island separately because its depth and exposed edges usually differ from perimeter counters.
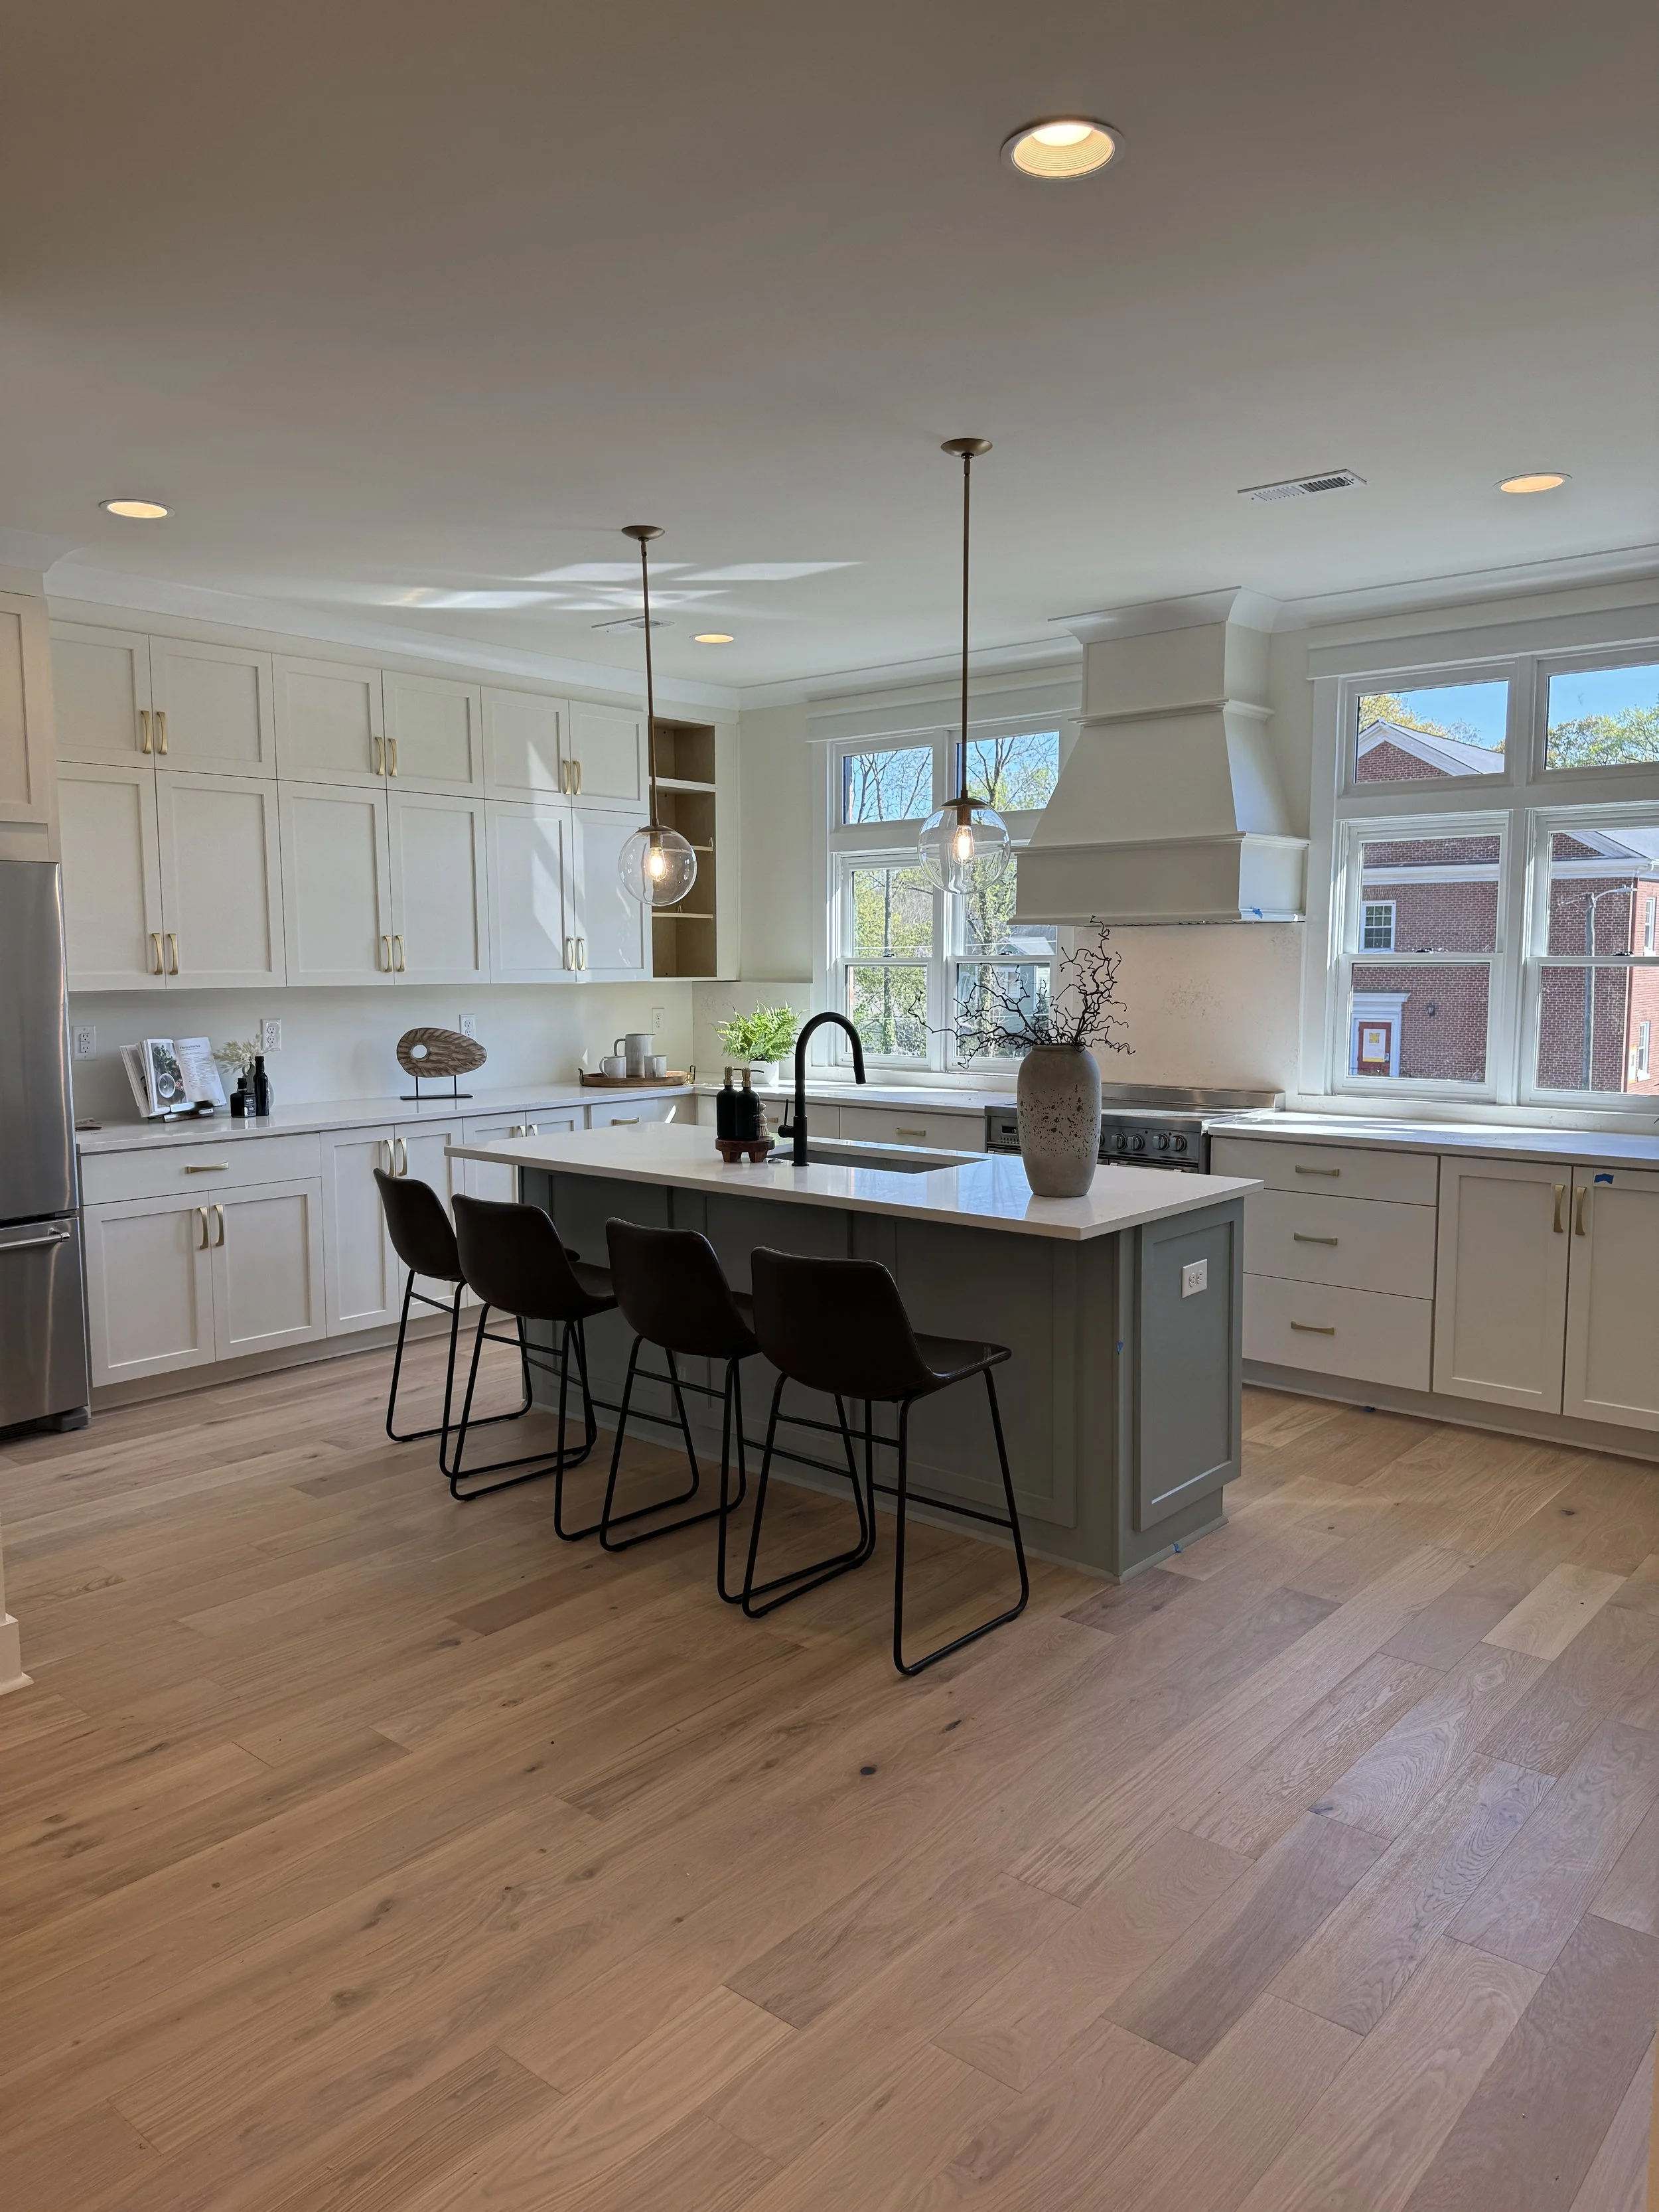
- For curves, clipped corners or unusual shapes, draw the outline and include clear photos.
- Do not attempt to establish seams from your sketch. Slab dimensions, movement, access and fabrication planning affect final seam placement.
What to send with the numbers
A better sketch produces a more useful starting quote.
Square footage is only one part of countertop pricing. Add enough context for the team to understand the project without treating your rough measurements as final dimensions.
- One top-down drawing with every section labeled
- Length and depth written in inches
- Wide photos showing the complete layout
- Close photos of unusual corners, walls or raised areas
- Preferred material or a few material options
- Sink, cooktop, backsplash and edge plans
- Project ZIP code and approximate timeline
Three commonly missed measurements
Square feet, finished edges and backsplash are different.
Horizontal countertop square footage
Measure the full top surface. For a rough Sondos estimate, do not subtract sink or cooktop openings; identify the cutouts separately because the estimator prices project extras separately.
Exposed finished edges
Measure the visible front and side edges that need a finished profile. Do not count edges touching a wall or appliance. The Sondos estimator asks for approximate finished-edge length when a paid edge profile is selected.
Backsplashes and waterfall panels
List a 4-inch backsplash, full-height backsplash or waterfall panel separately. For a rough vertical square-foot estimate, multiply its length by height in inches and divide by 144. Final dimensions require professional verification.
Material changes planning—not the basic math
Use the same area formula for every surface option.
Granite, quartzite and marble are natural stone; quartz is an engineered slab surface, while porcelain and Dekton are manufactured surfaces. The rough countertop area is calculated the same way for each. The final quote can still change with the selected product, available slab dimensions, pattern direction, seam layout, edge profile and fabrication requirements.
Countertop quotes in North Carolina’s Triad
Start with rough measurements. Finish with a professional measure.
Sondos Stone accepts project measurements, cabinet plans and photos for a starting estimate. Before fabrication, the team confirms the final dimensions for the installed cabinets and site conditions. Cabinets must be secure for the final template and should not be moved afterward.
Planning a replacement project? Read Can You Replace Countertops Without Replacing Cabinets? Then compare the factors in the North Carolina countertop cost guide.
Frequently asked questions
Countertop measuring answers.
Short, direct answers for homeowners, search engines, AI assistants and voice queries.
How do I measure countertops for a quote?
Draw the layout from above, split it into non-overlapping rectangles, then measure the length and depth of each rectangle in inches. Multiply length by depth for each section, add the square inches and divide by 144. Send the sketch, total square feet, project photos and details about edges, cutouts, backsplash and removal.
What is the formula for countertop square footage?
For each section, use length in inches × depth in inches ÷ 144 = square feet. Add all sections together. For example, a 120-inch by 25.5-inch run is 3,060 square inches, or 21.25 square feet.
Do I subtract the sink or cooktop when measuring countertops?
For a rough Sondos Stone quote, measure the full countertop surface and do not subtract sink or cooktop openings. List the number and type of cutouts separately because they affect fabrication and are entered separately in the instant estimator.
How do I measure an L-shaped countertop?
Divide the L-shape into two rectangles that meet without overlapping. Measure the length and depth of each rectangle, calculate each area and add them. The same method works for a U-shaped layout by using additional labeled rectangles.
Should I use the standard 25.5-inch countertop depth?
Use 25.5 inches only as a reference. Measure the actual depth from the wall or backsplash to the front edge because islands, older cabinets, custom cabinetry, overhangs and appliance areas may be different.
How do I measure finished countertop edge length?
Add the exposed front and side edges that require a finished profile. Do not include edges that meet a wall or appliance. Record this total in linear feet, and identify the edge profile you want.
Are my measurements used to fabricate the countertops?
No. Homeowner measurements are used for a starting estimate. Sondos Stone completes a professional field measure or template before fabrication. Final pricing and dimensions depend on the verified layout, selected material, seams, cutouts, edges, slab availability and site conditions.
What should be ready for the final countertop template?
Cabinets should be securely installed in their final position. Sink, faucet, water-filter and cooktop details should be available, and the cabinets should not be moved after templating. Review the Sondos Stone process for current preparation details.
Why the final number can change
A square-foot total is the beginning—not the whole quote.
Countertop pricing also depends on the exact material, available slab sizes, pattern direction, seams, edge profile, cutouts, backsplash, demolition, access and field conditions. That is why the instant estimate is presented as a ballpark and final pricing is confirmed after the project is reviewed and measured.
See finished work in the Sondos Stone kitchen gallery, learn how countertop seams are planned, or compare 2cm and 3cm countertop thickness.
Your sketch is ready
Turn the measurements into a starting countertop estimate.
Choose a material, enter the approximate square footage and project details, then let the Sondos Stone team review the layout and next steps.